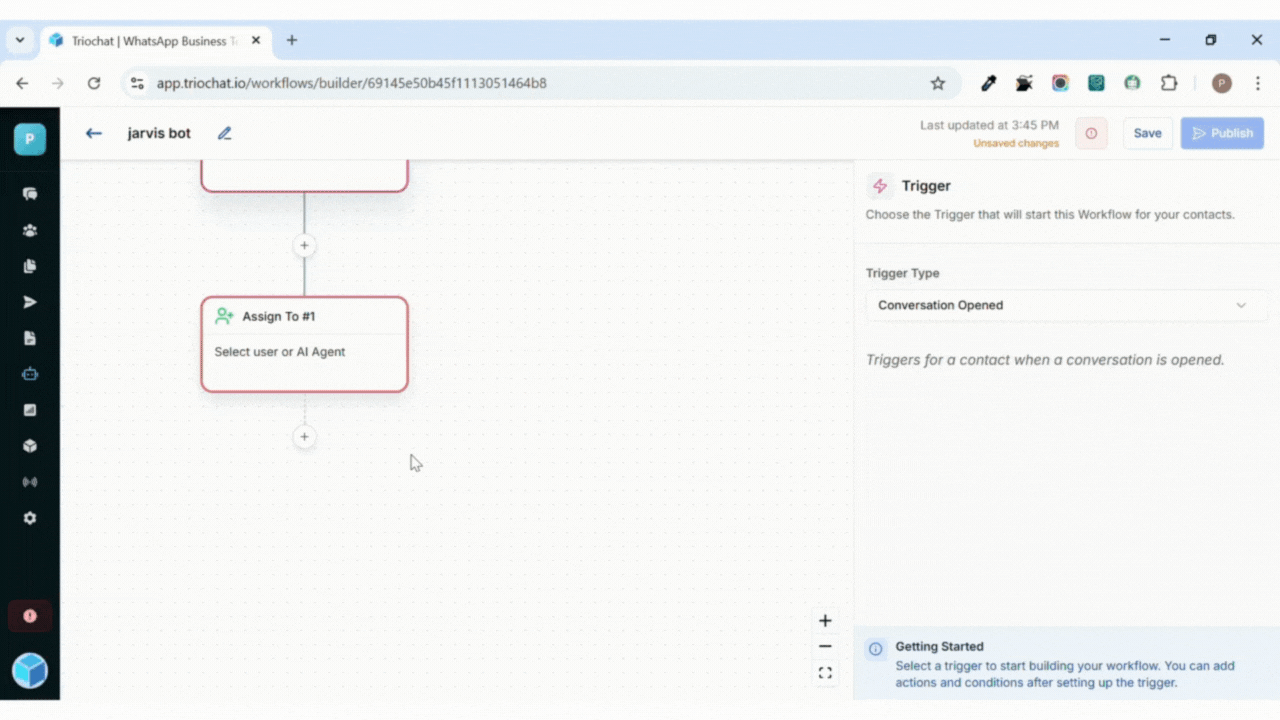
## Assigning a Chat in Your Workflow### Purpose of the “Assign To” StepThe **Assign To** action is used when a conversation needs to be redirected to a specific person, team, or system for handling. It’s especially helpful when an **Ask a Question** step fails or when a user requires human assistance. This ensures that no chat gets stuck without a proper response.---## How to Use the “Assign To” Option in {{brand_name}}### 1. Locate the Point of AssignmentAfter an **Ask a Question** step, if you want to handle failed responses or unanswered queries:- Click the **“+”** icon in your workflow.- From the list of options, select **“Assign To.”**### 2. Choose the Assignment TypeThe **Assign To Panel** allows you to decide _how_ and _to whom_ the chat should be assigned.You can assign the conversation to:- A **specific user** (an individual team member)- A **user in a team** (any member in that team)- A **user in a workspace** (across departments or groups)- **Unassign** (release the chat back to the system)### 3. Select the Assignee OptionUnder the **“Assignee To”** dropdown, {{brand_name}} provides two built-in options:#### a. Chat Completion Service- {{brand_name}}'s built-in AI automatically takes over the conversation.- It analyzes context and responds intelligently to user queries.- Ideal for quick resolutions, FAQs, or after-hours support.#### b. {{brand_name}} Developer- Assigns the chat to a **manual responder** (real person or support agent).- The assigned user can view and reply from their {{brand_name}} dashboard.- Best for complex issues, technical support, or escalations requiring human input.### 4. Save the AssignmentAfter choosing the assignment type and assignee:- Click **Save** to apply the settings.The chat will now automatically transfer to the specified handler whenever the workflow reaches this step.